Let’s be honest: the perfect, sunny, 72-degree day with zero wind is a rare find for any outdoor project. More often than not, if you’re ready to install an awning, you’re facing some kind of weather challenge—maybe a persistent breeze, an impending rain shower, or blistering heat. As a professional with years of experience, I can tell you that installing awnings in challenging weather conditions is not only possible but can be done safely and effectively with the right knowledge and preparation. The key isn’t waiting for a mythical perfect day; it’s understanding how to adapt your approach to the conditions at hand, ensuring your new structure is secure, level, and built to last from the moment it goes up.
Why Polycarbonate Awnings Excel in Harsh Weather
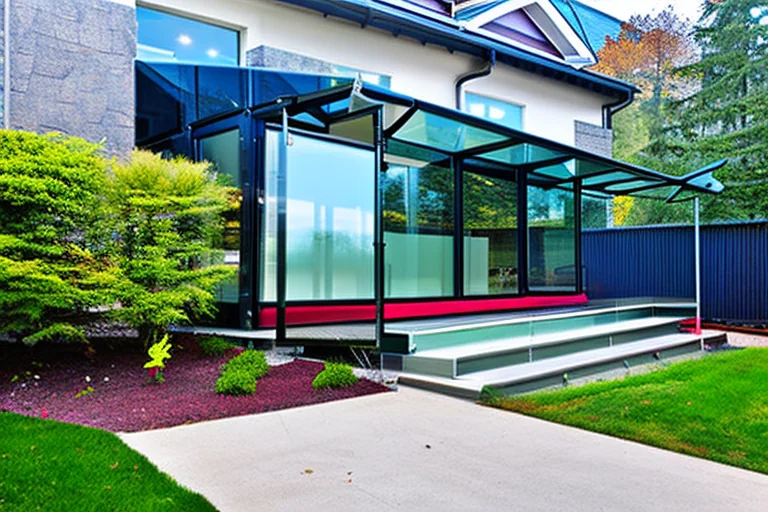
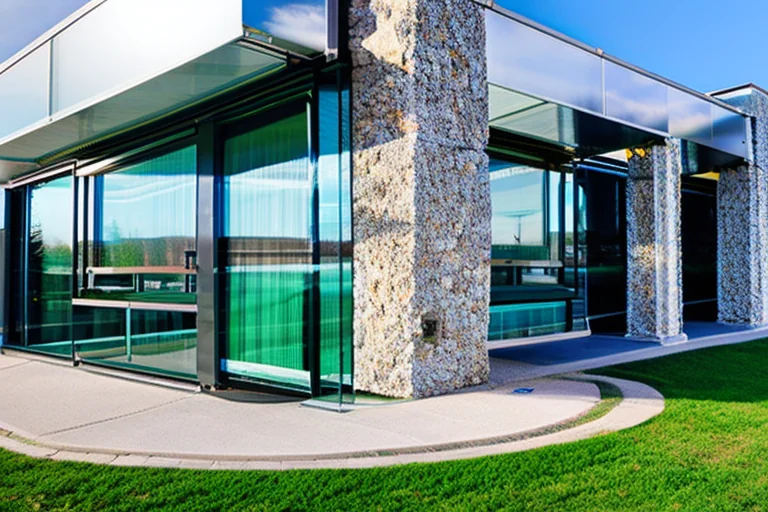
Before we jump into installation tactics, it’s crucial to understand why the material choice is your first line of defense. Polycarbonate awnings are arguably the best choice for areas prone to tough weather. Unlike fabric or less robust plastics, multi-wall polycarbonate panels are incredibly impact-resistant—they can handle hail, flying debris, and heavy snow loads without cracking. They are also UV-resistant, meaning they won’t yellow or become brittle under intense sun, a common issue with other materials. Their lightweight nature compared to glass makes them easier to handle during a tricky installation, especially when the wind picks up. When paired with a strong aluminum frame, you have a system designed for durability. For instance, choosing a premium aluminum gutter solution provides a robust anchoring point that integrates seamlessly with your home’s existing water management system, a critical factor for stability in storms.
Pre-Installation Planning: Your Blueprint for Success
Failing to plan is planning to fail, and this is doubly true in bad weather. Start by thoroughly reviewing the manufacturer’s instructions for your specific awning kit. Check the weather forecast meticulously; while you can work in light rain or wind, you must avoid thunderstorms, lightning, or extreme wind advisories for safety. Next, prepare your tools and workspace. Use heavy-duty tarps or a pop-up canopy to create a dry, wind-blocked area for organizing parts and pre-assembling sections if possible. Ensure all your fasteners, anchors, and sealants are rated for exterior use and suitable for your home’s siding material (brick, vinyl, wood, etc.). Having everything staged and within reach minimizes time spent exposed to the elements and reduces the risk of dropping small parts.
Tackling Wind During Installation
Wind is the most common and potentially dangerous challenge. Even a steady 15 mph breeze can turn a large awning panel into a sail. The golden rule: never work alone in windy conditions. Have at least one, preferably two, helpers to act as “panel holders.” Assemble the aluminum frame on the ground in a sheltered area, securely tightening all connections. When it’s time to lift the frame or panels into position, communicate clearly with your team. Lift in unison during lulls between gusts. Temporarily secure the frame to the house with multiple straps or ropes before attempting permanent mounting. This temporary bracing prevents sudden shifts that could cause injury or damage. Always use the manufacturer-specified anchors and consider upgrading to longer or larger-diameter screws for added peace of mind in high-wind zones.
Managing Rain and Moisture
Installing in the rain is less than ideal, but sometimes necessary. The primary concerns are safety and preventing water intrusion behind the awning mounts. First, ensure your ladder has non-slip feet and you’re wearing shoes with excellent traction. Use a cordless drill instead of a corded one to eliminate electrical hazards. Before drilling any mounting holes, hold the bracket in place and use a pencil to mark the spots. Then, apply a thick bead of high-quality exterior silicone or polyurethane sealant directly over each marked hole on the siding. Drill through the sealant, then immediately insert the anchor and fastener. This technique, called “back-sealing,” creates a gasket that prevents water from seeping into your home’s wall cavity. Wipe away excess sealant for a clean finish.
Extreme Heat and Cold: Installation Adjustments
Temperature extremes require subtle but important adjustments. In sweltering heat, aluminum frames and polycarbonate panels can become very hot to the touch. Wear gloves and work during the cooler morning or evening hours to avoid heat exhaustion. Be aware that materials expand in heat; when attaching panels to the frame, do not overtighten the fasteners. Allow a tiny bit of room for thermal expansion to prevent stress cracks. Conversely, in cold weather, polycarbonate becomes more rigid. Handle panels with extra care to avoid stressing them, and store them in a warmer area before installation if possible. Sealants and adhesives often have minimum application temperatures (usually around 40°F); using them outside their specified range will result in a poor bond that will fail later.
Post-Installation Checks and Adjustments
Once the awning is physically installed, your job isn’t over—especially after a difficult weather installation. As soon as conditions calm down, perform a thorough inspection. Check every bolt, screw, and bracket for tightness. Materials can settle and shift during installation under stress. Examine the slope of the awning to ensure water will run off properly and not pool. Test the operation of any retractable mechanisms several times. Finally, wait for the next rainstorm (or simulate one with a hose) to visually confirm there are no leaks at the mounting points. This proactive verification is the best way to catch and correct minor issues before they become major problems.
Long-Term Maintenance for Weather Resilience
A proper installation sets the stage, but ongoing care ensures longevity. For polycarbonate awnings, maintenance is simple. Clean the panels periodically with mild soap and water, using a soft cloth or sponge. Avoid abrasive cleaners or tools that could scratch the surface. Inspect the awning at the change of seasons. Look for any debris accumulation in gutters (if integrated), check the tightness of frame connections, and ensure all sealant beads are intact. In winter, be proactive about removing heavy snow loads with a soft broom, pushing from underneath. For more specialized scenarios, like ensuring your investment is protected on movable structures, you can find detailed advice in resources like this guide for mobile home and RV installations. A few minutes of seasonal care dramatically extends the life and performance of your awning.
Knowing When to Call a Professional
While many awning installations are solid DIY projects, challenging weather can tip the scales. If the forecast is consistently severe, your home’s siding is complex (like stone or stucco), or the awning is particularly large or complex, hiring a professional installer is a wise investment. Experienced installers have the equipment, manpower, and techniques to work efficiently and safely in adverse conditions. They also carry insurance and warranties on their workmanship, protecting you from potential issues. There’s no shame in recognizing when a job is beyond your comfort or skill level, especially when safety is on the line.
Installing an awning in less-than-perfect weather is a test of preparation and patience. By choosing a durable system like polycarbonate on aluminum, planning meticulously, adapting your techniques to the specific challenge, and committing to simple maintenance, you can successfully enhance your home’s comfort and value no matter what the sky decides to do. Ready to get started on your project? Browse our complete polycarbonate awning collection to find the perfect style for your home, and contact our awning experts today for personalized advice tailored to your local climate and installation challenges.